

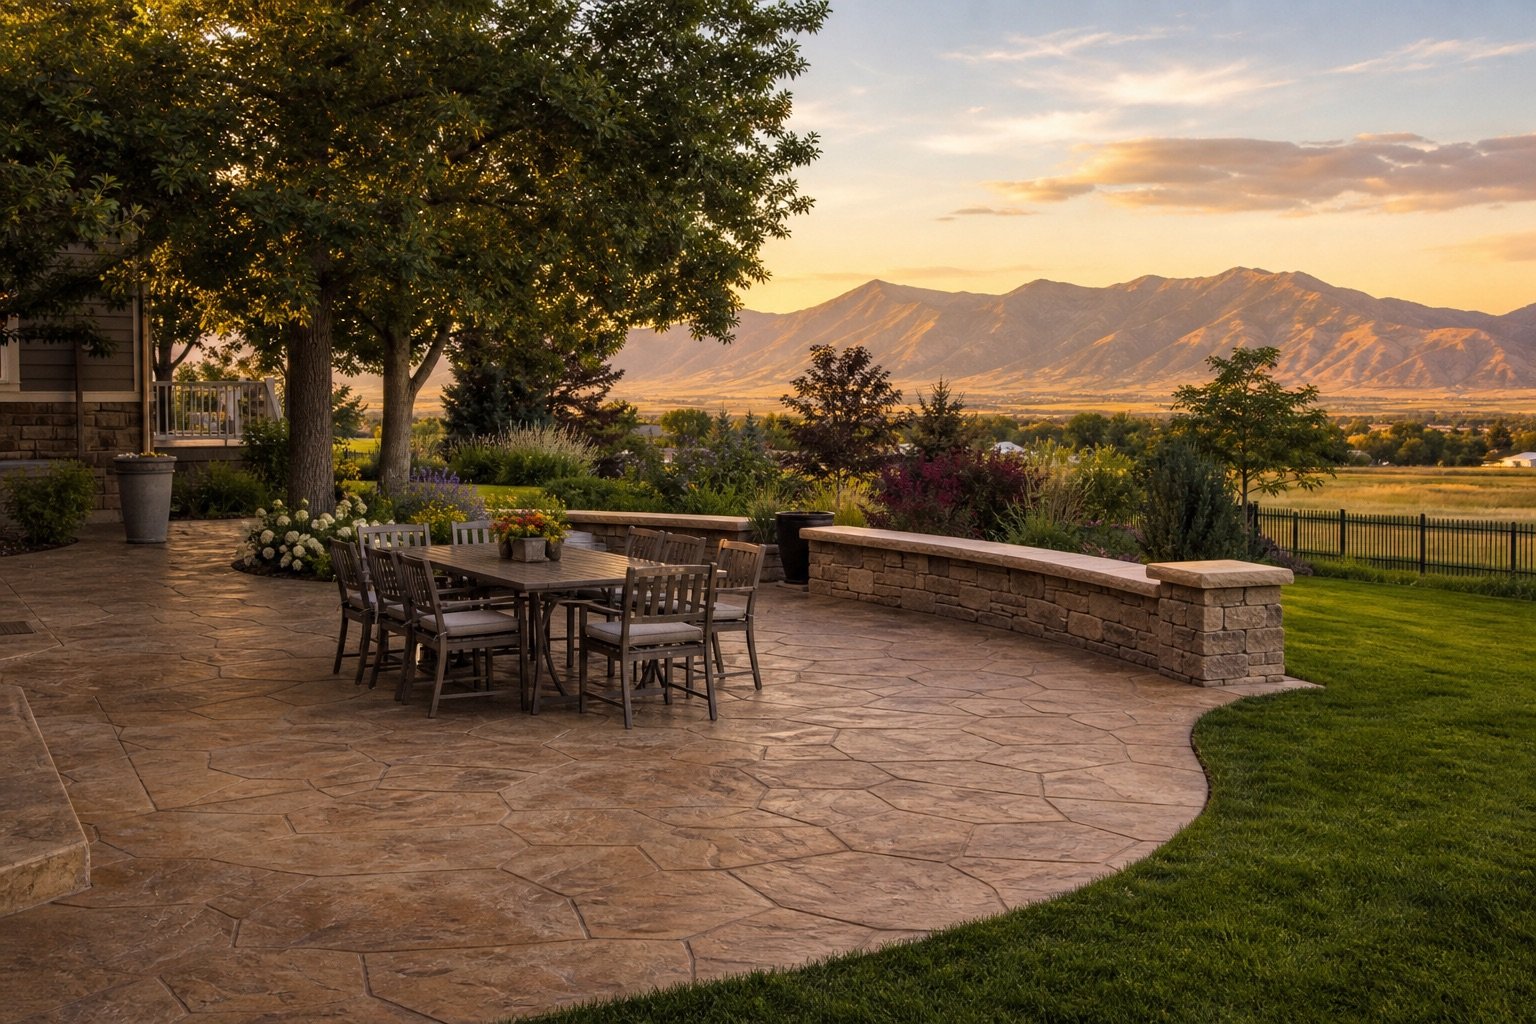
A concrete patio is the cheapest square footage you will ever add to your home. It costs a fraction of what enclosed space costs to build, it needs almost no maintenance, and in Cache Valley — where the summer evenings are genuinely spectacular — it gets used constantly from May through October. This guide covers what goes into a patio installation in Logan and the surrounding valley, what the finishes actually look like in practice, and how to plan one that still looks right in fifteen years.
What concrete patio installation costs
Patio pricing works the same way driveway pricing does: square footage first, then adjustments. A plain broom-finish patio in the Logan area generally runs $8 to $14 per square foot. Stamped and colored work runs higher, typically $14 to $22 per square foot, because it takes more material and considerably more skilled labor to place well.
Our residential patio work starts at $1,300, and decorative stamped or colored work starts at $1,800. A common 16 by 20 foot patio is 320 square feet, which is a comfortable size for a table, a seating group, and a grill without feeling crowded.
The variables that move the price are access to the back yard, how much excavation and grading the site needs, whether a seat wall or steps are involved, and the finish you choose.
Sizing a patio so it actually works
The most common regret we hear is not about the finish or the color. It is that the patio is too small. People size it to the budget rather than to the furniture, then discover chairs are half-off the edge onto the grass.
Some working numbers:
- A dining set for six needs about 12 by 12 feet minimum, so chairs can slide back without falling off.
- A seating group with a sofa and chairs wants 12 by 14 feet or more.
- A grill station needs 4 to 6 feet of clear depth in front of it, and should sit away from the main traffic path.
- Walkways should be 3 feet wide minimum, 4 feet if two people will walk side by side.
Add up the zones you actually want, then add a few feet of circulation. It is much cheaper to pour the right size once than to pour an extension in three years and live with a joint through the middle of it.
Finish options, honestly compared
Broom finish
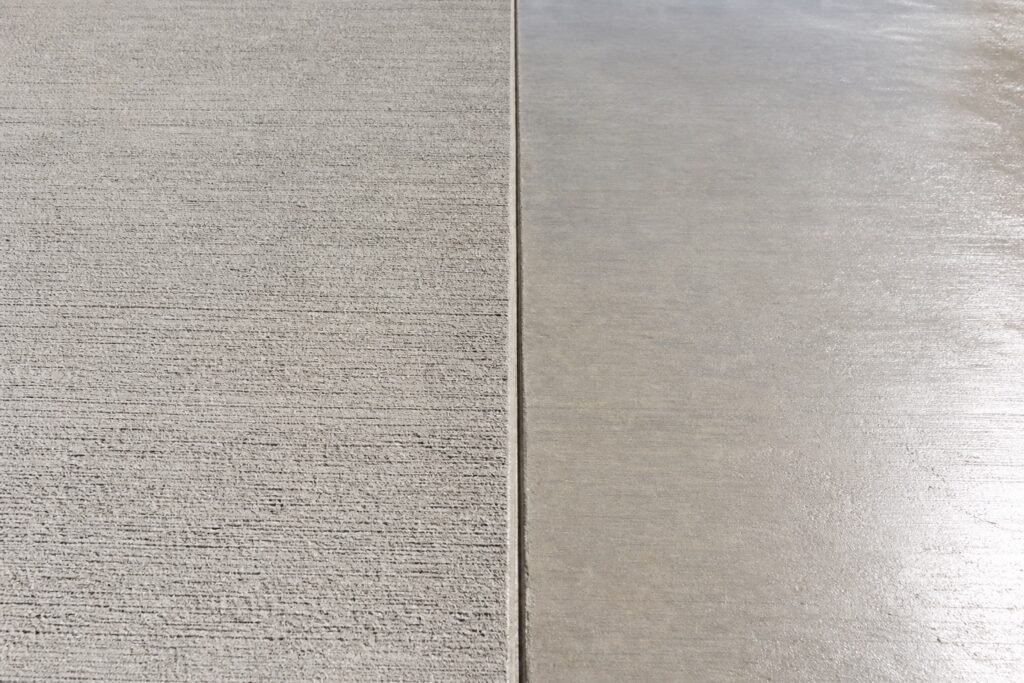
The workhorse. A brush is drawn across the surface while it is still setting, leaving fine parallel striations. It is affordable, it hides minor imperfections, and critically, it gives traction when wet. For walkways, steps, and anywhere that gets sprinkler overspray, broom finish is the sensible default.
Stamped concrete
Textured mats are pressed into fresh concrete to imitate flagstone, slate, brick, or wood plank. Done well it is genuinely convincing and costs far less than the material it imitates. Done badly it is obvious — repeating patterns, misaligned seams, and grout lines that do not line up. This is the finish where the crew’s skill shows most.
Stamped surfaces are smoother than broom finish, so they are slicker when wet. If you are stamping a patio near a pool or a sprinkler zone, ask for a non-slip additive in the sealer.
Colored concrete
Color can be integral, mixed through the whole batch, or applied as a surface hardener. Integral color is more consistent and will not wear through, which is what we generally recommend. Expect some natural variation between truckloads — that is the nature of the material, not a defect.
Exposed aggregate
The surface paste is washed away to reveal the stone underneath. Extremely durable, excellent traction, and very good at hiding dirt. It is also rougher underfoot, so it is better suited to walkways and pool surrounds than to a patio where people will be barefoot.
Drainage: the detail that decides everything
A patio must slope away from your house. The standard is roughly a quarter inch of fall per foot — about 2 percent. On a 16-foot patio that is four inches of drop across its width, which is more than most homeowners expect and is completely invisible when you stand on it.
Get this wrong and water pools on the surface, runs toward your foundation, or freezes into a sheet of ice at the back door every winter. In Cache Valley, where we cycle above and below freezing repeatedly through the season, standing water is not a cosmetic issue. It is what destroys slabs.
The same principle applies to walkways. A path that traps water between the house and a planting bed will heave. Proper grading and base preparation is what prevents it.
Building for a northern Utah winter
Everything we pour outdoors here is air-entrained. The microscopic air bubbles give freezing water room to expand instead of forcing the surface apart. For a patio, which sits in contact with snow for months, this is not optional.
Beyond the mix, three things matter:
- Control joints placed on a sensible grid so the inevitable cracking happens in a straight tooled line instead of across the middle of your seating area.
- An isolation joint where the patio meets the house, so the two can move independently. Without it, the slab pushes against the foundation.
- No de-icing salt in the first winter, and sparing use after that. Sand gives traction without chemically attacking the surface.
Patios and walkways as one connected plan
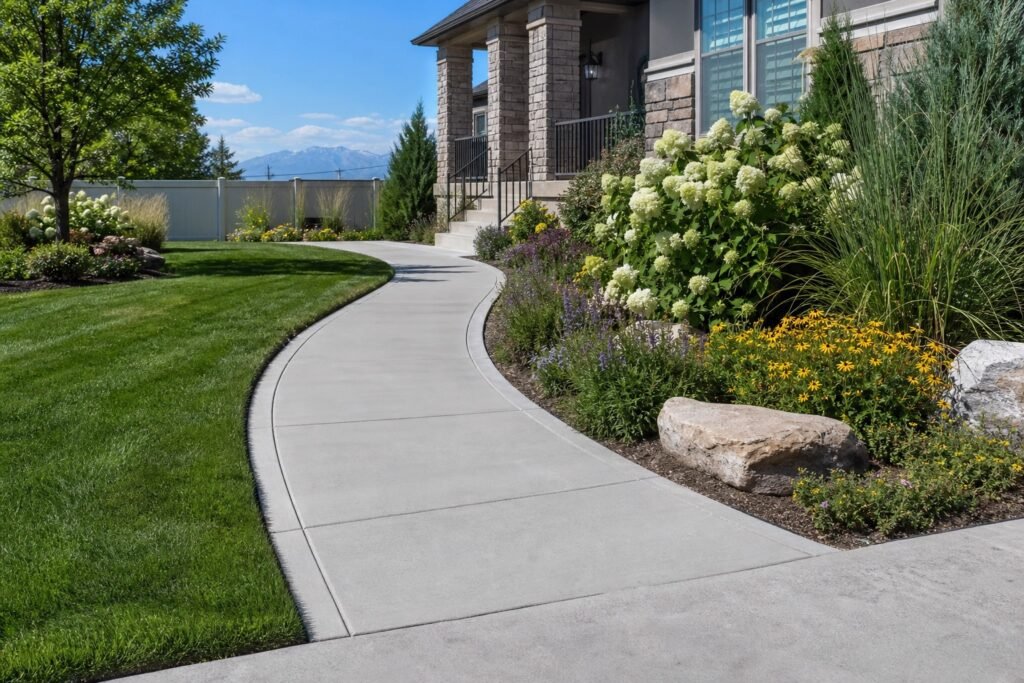
Patios rarely stand alone. There is usually a path from the driveway, a connection to the side gate, maybe a landing at the back door. Pouring them together is meaningfully cheaper than pouring them in separate visits, because the mobilization, forming, and finishing crew are already on site.
It also looks better. Matching the finish, color, and joint pattern across all the flatwork reads as designed. Adding a walkway two years later in a slightly different shade never quite does.
If you are edging planting beds along the new path, a concrete mow strip poured at the same time is an inexpensive addition that saves you trimming by hand forever.
Frequently asked questions
How long does a patio installation take?
Most residential patios are excavation, base, forming, and pour across two to three days. Stamped work takes longer, since the stamping has to happen in a fairly narrow window while the concrete is at the right consistency, and sealing follows later.
When can I put furniture on it?
Foot traffic after 24 to 48 hours. Furniture after about 7 days. Avoid dragging anything heavy across the surface for the first month while it is still gaining strength.
Can you pour a patio over my existing one?
Sometimes. If the existing slab is structurally sound, well drained, and only cosmetically tired, an overlay is possible. If it is cracked, settling, or sitting on a failed base, pouring over it just transfers the problem upward. We will tell you which situation you are in after looking at it.
Does stamped concrete need to be resealed?
Yes. Plan on resealing every two to three years in this climate. The sealer is what keeps the color from fading and keeps moisture out of the surface. It is a straightforward job most homeowners can do themselves.
What is the best month to schedule?
Late spring through early fall gives the best conditions. Our calendar for that window fills early, so homeowners who call in late winter get the dates they want. Booking a patio in July for that same summer is often too late.
Plan your patio with someone local
Bustillos Concrete has poured patios, walkways, and outdoor living space across Cache Valley for 8 years, with 19 years of concrete experience behind the work. We serve Logan, Smithfield, Hyrum, Providence, Nibley, Richmond, North Logan, Millville, and Trenton, plus Preston and Franklin, Idaho.
We will walk the yard with you, talk through size and finish before anything is committed, and give you a written quote that matches what you are charged.
Get your free patio estimate — or see our full concrete patio and walkway services.